Showing posts with label table makeover. Show all posts

Tuesday, September 27, 2011

The Beacon Hill Table

Sometimes you just don't know where a project is going to take you.  We picked this table up off the street in Beacon Hill four years ago, and it's been taking up room in the basement since. 
If you're not familiar with Beacon Hill, it's a charming, historic section of Boston with brick sidewalks and narrow streets and many wealthy residents and lots of tourists.  I imagine that a small dog sat perched atop this table in front of a window every day for decades, awaiting its owner's return home.  That's the only way I can explain the damage to the table's surface.
I had no idea what I was going to do with this table.  The truth is, I wasn't even sure I wanted it.  But then when the living room was starting to feel too crowded, I thought I would try painting it to replace the larger table in the corner.
So, I took the orbital sander to the top to smooth it out for painting.  I used an 80-grit disc, following the direction of the wood, keeping the sander moving.  It took about 20 minutes.

And when all the finish was removed from the top, I had revealed this.

Oh, no!  It's kind of beautiful.  How can I paint over that? 

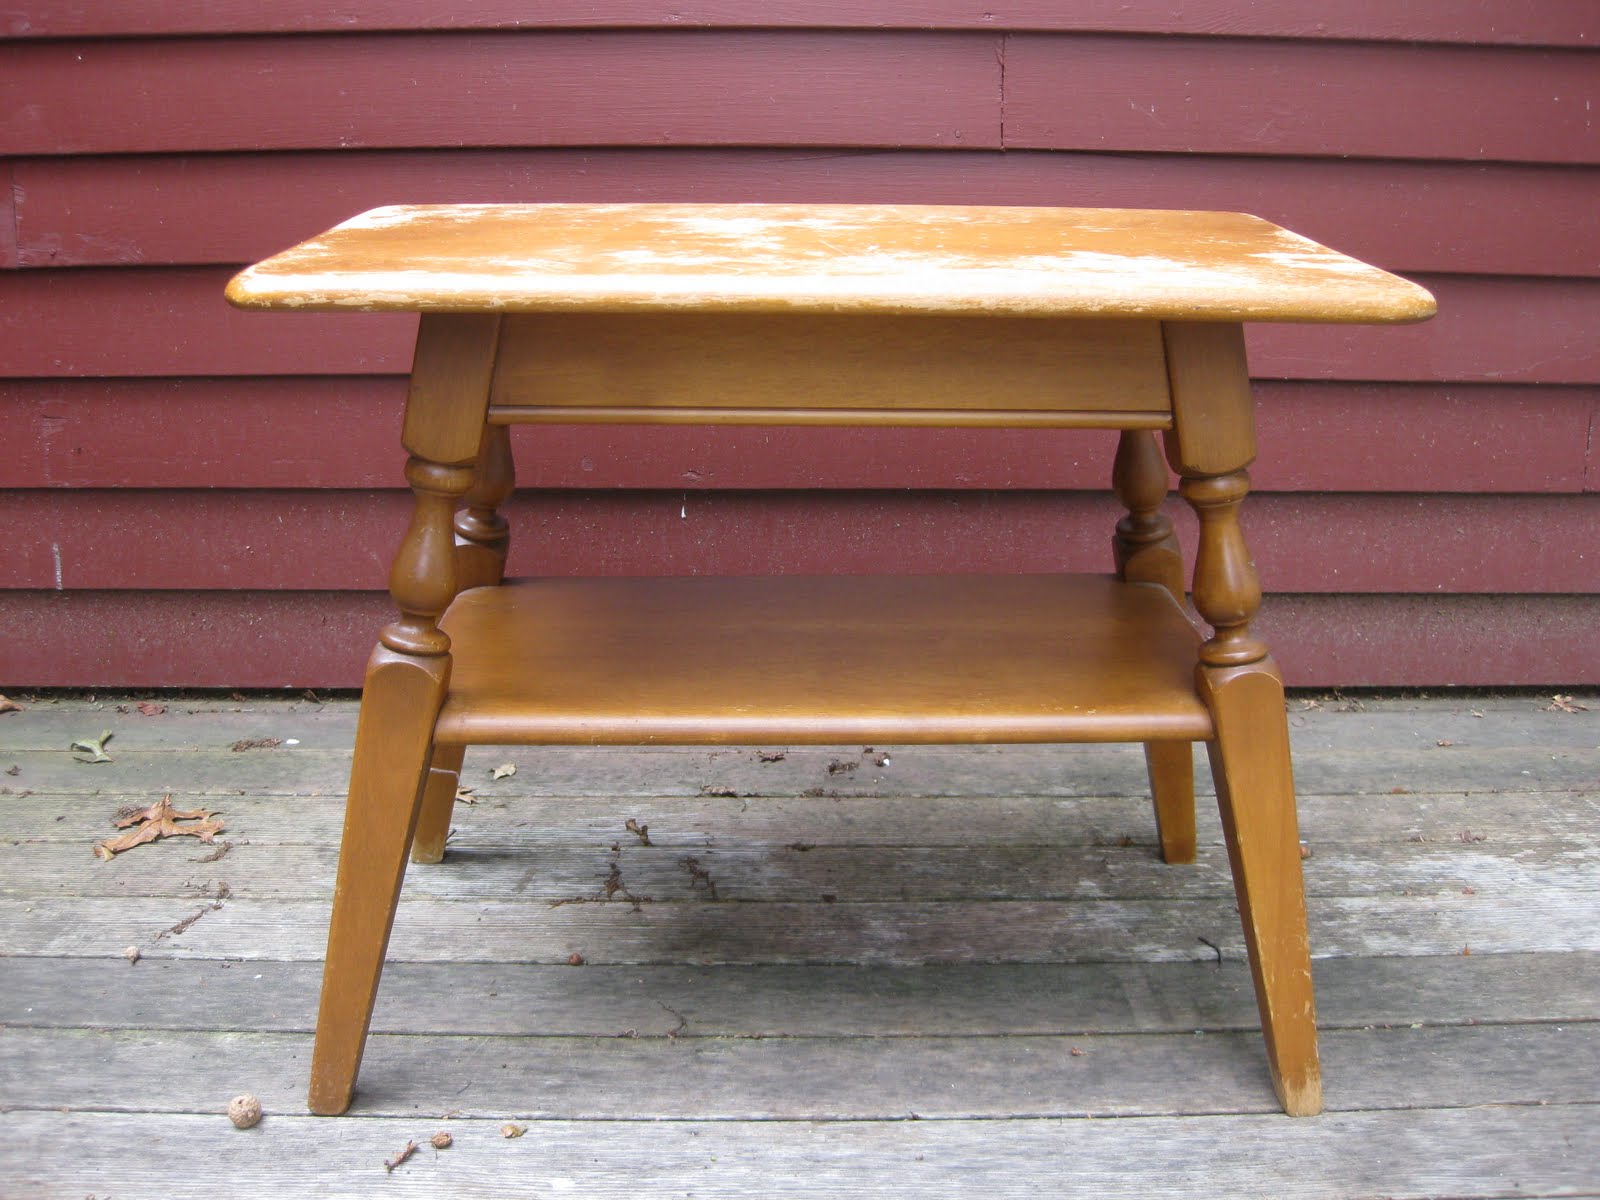
So, I had to revise my plan.  I would stain the top, and paint the legs.  It was a compromise, because removing the finish from the legs would have required days of stripping and sanding, and I wasn't at all interested in restoring the entire piece.  Did I mention that I wasn't even sure I wanted this table? 

I used a walnut gel stain for the top, applying it liberally with a rag, and then wiping off the excess with another clean rag after 3 minutes or so.  Here's a photo half way through.  I wound up doing two coats.

And for the base I used Annie Sloan Chalk Paint in Country Grey.  I'd be the 800th blogger to say how great the paint is (you don't have to sand or prime, you can leave the lid off and the paint just gets better, and you can make a beautiful wash by diluting the paint, too), so I'll just say that, like the wax, it has a little more texture, a little more something special I can't quite put my finger on.  Quality, I guess.  In the end, it's just nice paint. 

It was difficult to get into all of the little grooves in the legs with a brush,
so I left some areas uncovered.  I tried applying dark wax to the crevices to age the look of the last table I painted, and I figured I'd just be saving myself a step, and a whole lot of wax.  I did apply clear wax to the base once it was painted, and three coats of matte polyurethane to the table top.


See how smooth the clear wax makes the finish look? 
And, you might have noticed that, at least for now, the table is not in the corner, but right next to the door.  I felt like it deserved a place a little more front and center. 
So for now, the living room is one table more crowded than it was before.  It's all part of the process, I guess.  More changes to come!


Friday, September 16, 2011

Wax On, Wax Off

I found this table by keeping tabs on the free section of Craigslist.  Sometimes I time it just right and something good is right around the corner.  The table was a little beat up on top, but I am a big fan of free, so I put it in the car.


I decided to paint it and put it on the screened-in porch as part of my master plan to slowly move the outdoor furniture outdoors and fill the porch with real furniture. It took just a few minutes with the orbital sander to smooth out the top,
and then I gave it a coat of Benjamin Moore Beach Glass, which is a very pale blue, and a color we had leftover from painting the sideboard on the porch.  And then I roughed up the edges a little bit to make it seem a little worn.


But I didn't want to stop there.  I went to Brimfield last week and picked up some Annie Sloan Chalk Paint and waxes (in addition to another sad little table that will need to wait in line for its makeover).  The paint is being used in my very next project, but I thought this would be an opportunity to experiment with waxes.  (Does that sound kinky?  It's not.)  As far as I've been able to gather, one might use waxes in the same way one would use polyurethane- to protect the finish.  Annie Sloan has a clear wax and a dark wax, and it seems there are infinite options for how you might use them to finish a piece of furniture.  There's also a bit of an art to how it is applied, and I tend to prefer very clear direction.  I was intimidated, particularly because the stuff is so damn expensive and I didn't want to waste it.  Then I found this video on YouTube with someone demonstrating how she'd been taught to use the wax in a class and that at least gave me the confidence to move forward. 

So, you use a brush or cloth to apply a coat of clear wax.  It's a matte finish, but it has more texture than a matte polyurethane.  I like it.  If you are applying dark wax to the piece, you then use a stiff brush to wipe it on, really mashing it into the crevices and the grooves in the wood or the paint.  It's best to do just a small area at a time, because next you use clear wax on a cloth to wipe off the dark wax before it dries, as much as you want until you have the desired effect.  It acts as sort of an eraser.  The more clear wax you use, the more easily the dark wax comes off.  I just wanted the tiniest bit of dark wax left on the table, hoping it would add some definition to the edges I roughed up.  I didn't want the paint to look dirty.  So I put on a lot of clear wax to wipe off a lot of dark wax.  I'm not sure you can see much of a difference from before, but here's what it looks like.


Maybe I was scared and it shows, maybe it wasn't the right piece to use dark wax on, maybe it looks just fine.  It is probably just the right amount of perfect for the porch, and it's defnitely growing on me.  Either way, I promise I'm done with this little corner of the house and will stop sharing pictures of it.

Do you have any projects planned for the weekend?  Have a good one!