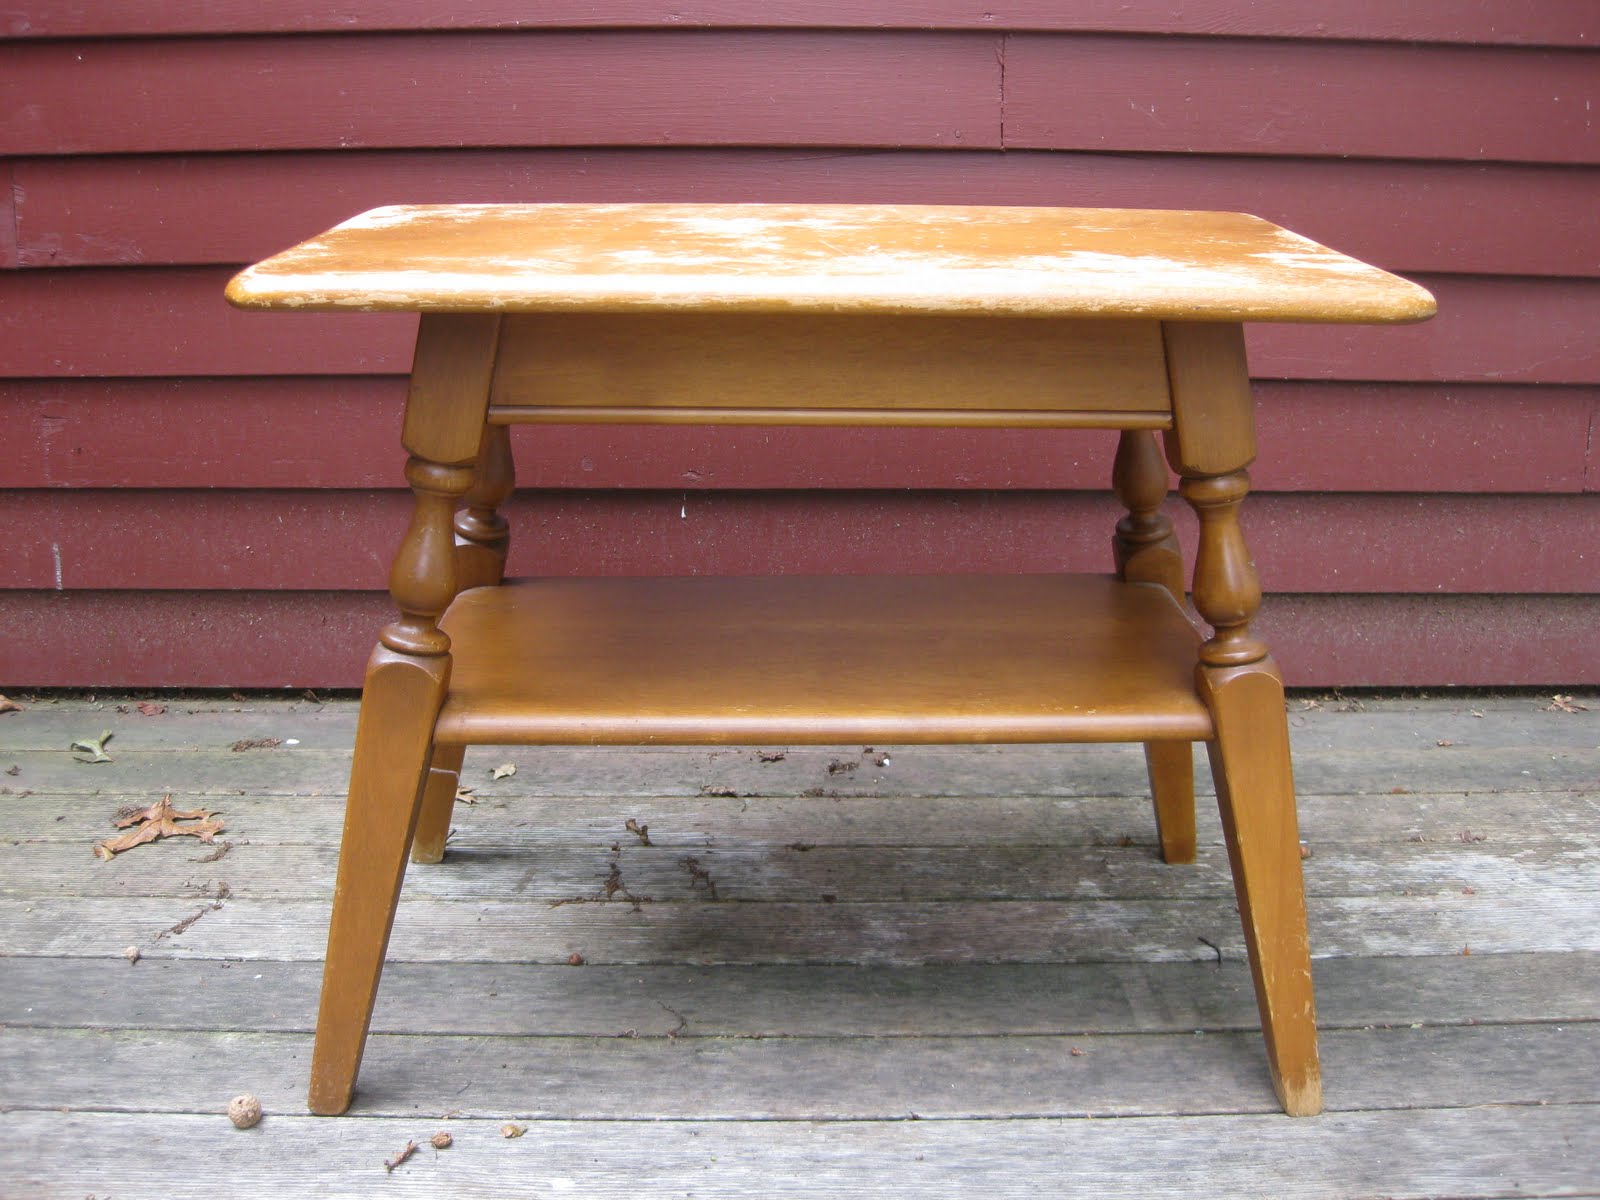

I decided to paint it and put it on the screened-in porch as part of my master plan to slowly move the outdoor furniture outdoors and fill the porch with real furniture. It took just a few minutes with the orbital sander to smooth out the top,


But I didn't want to stop there. I went to Brimfield last week and picked up some Annie Sloan Chalk Paint and waxes (in addition to another sad little table that will need to wait in line for its makeover). The paint is being used in my very next project, but I thought this would be an opportunity to experiment with waxes. (Does that sound kinky? It's not.) As far as I've been able to gather, one might use waxes in the same way one would use polyurethane- to protect the finish. Annie Sloan has a clear wax and a dark wax, and it seems there are infinite options for how you might use them to finish a piece of furniture. There's also a bit of an art to how it is applied, and I tend to prefer very clear direction. I was intimidated, particularly because the stuff is so damn expensive and I didn't want to waste it. Then I found this video on YouTube with someone demonstrating how she'd been taught to use the wax in a class and that at least gave me the confidence to move forward.
So, you use a brush or cloth to apply a coat of clear wax. It's a matte finish, but it has more texture than a matte polyurethane. I like it. If you are applying dark wax to the piece, you then use a stiff brush to wipe it on, really mashing it into the crevices and the grooves in the wood or the paint. It's best to do just a small area at a time, because next you use clear wax on a cloth to wipe off the dark wax before it dries, as much as you want until you have the desired effect. It acts as sort of an eraser. The more clear wax you use, the more easily the dark wax comes off. I just wanted the tiniest bit of dark wax left on the table, hoping it would add some definition to the edges I roughed up. I didn't want the paint to look dirty. So I put on a lot of clear wax to wipe off a lot of dark wax. I'm not sure you can see much of a difference from before, but here's what it looks like.


Maybe I was scared and it shows, maybe it wasn't the right piece to use dark wax on, maybe it looks just fine. It is probably just the right amount of perfect for the porch, and it's defnitely growing on me. Either way, I promise I'm done with this little corner of the house and will stop sharing pictures of it.
Do you have any projects planned for the weekend? Have a good one!

1 comment:
I live it! Don't you just love the chalk paint. So easy. Great redo. Found you via Remodelaholic. Toodles, Kathryn http://thededicatedhouse.blogspot.com/2011/09/voice-studio.html
Post a Comment