My sister found this on the street and left it in my mother's garage, where it sat for a couple of years until I decided it was fair game.

The veneer was damaged, chipped and peeling on top,

and I wasn't a huge fan of the cut designs in the wood,

but I did like the nice looking cedar inside.

At first I thought I would fill in the missing veneer with a little wood filler, but it seemed so brittle that I decided to peel it all off. Important note: If you ever peel a piece of veneer off a piece of furniture, don't assume that it will all come off as easily.

I did a little research on how to remove veneer and learned that it all depends on what type of glue was used. Antique pieces have a water-soluble glue. Newer pieces don't. If there was any question as to whether or not this chest was an antique, I have definitely proved that it wasn't.
I tried using a wet towel and and iron to soften the glue and "lift" the veneer. It may have made a tiny bit of difference, but in the end it all came off due to hard work and a tremendous amount of (tried) patience. I used a hammer to bang the end of a chisel to get underneath and chip it off bit by bit. I don't recommend this approach, but if you're desperate, it does work.
However, even after using the orbital sander to smooth the surface, I still had with many serious gouges that needed to be filled with wood filler.

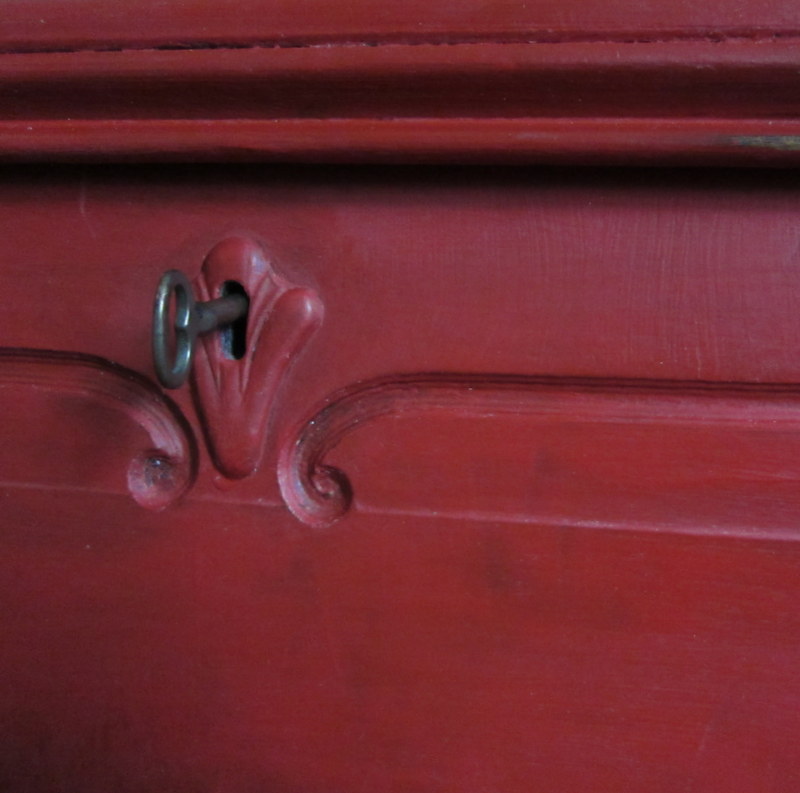
It was finally time to paint the thing. I used Annie Sloan Chalk Paint in Empire Silk. At first it was alarmingly hot pink, but it dried a nice, dark red. I had to use four coats in order to cover the chest though, which isn't typically my experience with this paint. Maybe it was very thirsty wood?

When the paint was dry, I covered the piece in clear wax, and then did a tiny bit of distressing. I added a little dark wax in spots, too, to give it a slightly worn and aged look.

The inspiration that got my through this long and tedious project was the new purpose the chest would serve. We don't really have a room where this would fit at the foot of a bed, and we have little need for a place to store blankets, so I decided to turn it into a place for file storage in our office.

We used to have three file boxes sitting on the floor in this bedroom that also serves as an office area.
They weren't much to look at and were a pain to move around whenever I vacuumed. But now they're hidden and off the floor.

Viola. Pretty bench serving a practical function. If holding on to a ridiculous amount of paper is practical. My next project should be to go through these files and find out what really needs to be saved. For example, for how long should you save all of your pay stubs? Is it necessary to hold on to every cancelled check since you opened a checking account? I'm guessing... probably not. Still, there will always be some paper documents that need a home. And now they have a good one.
What do you think? Was it worth the effort? Do you have too much paper and where do you keep it?
2 comments:
Better not ask me about where to put papers and when to give them a new home (trash). I still have ... well, better not go there.
I've been clearing papers too, but I love the new cabinet.
Post a Comment